Night Hiking for Beginners: Safety, Kit and Route Planning
The first time you walk a familiar path in the dark, it stops being familiar. A track you could follow half asleep in daylight suddenly has junctions you don't recognise and a horizon that has quietly disappeared. That's not a problem to solve — it's the whole point. But night hiking rewards preparation in a way daylight walking rarely does, and most of that preparation happens before you leave the house.
Why the Dark Changes Everything
Your world shrinks to the size of a torch beam. Depth perception drops, so roots, loose stones and muddy dips arrive later than your brain expects. Colour fades to grey and brown, which makes waymarks and signposts harder to spot even when they're right beside you.
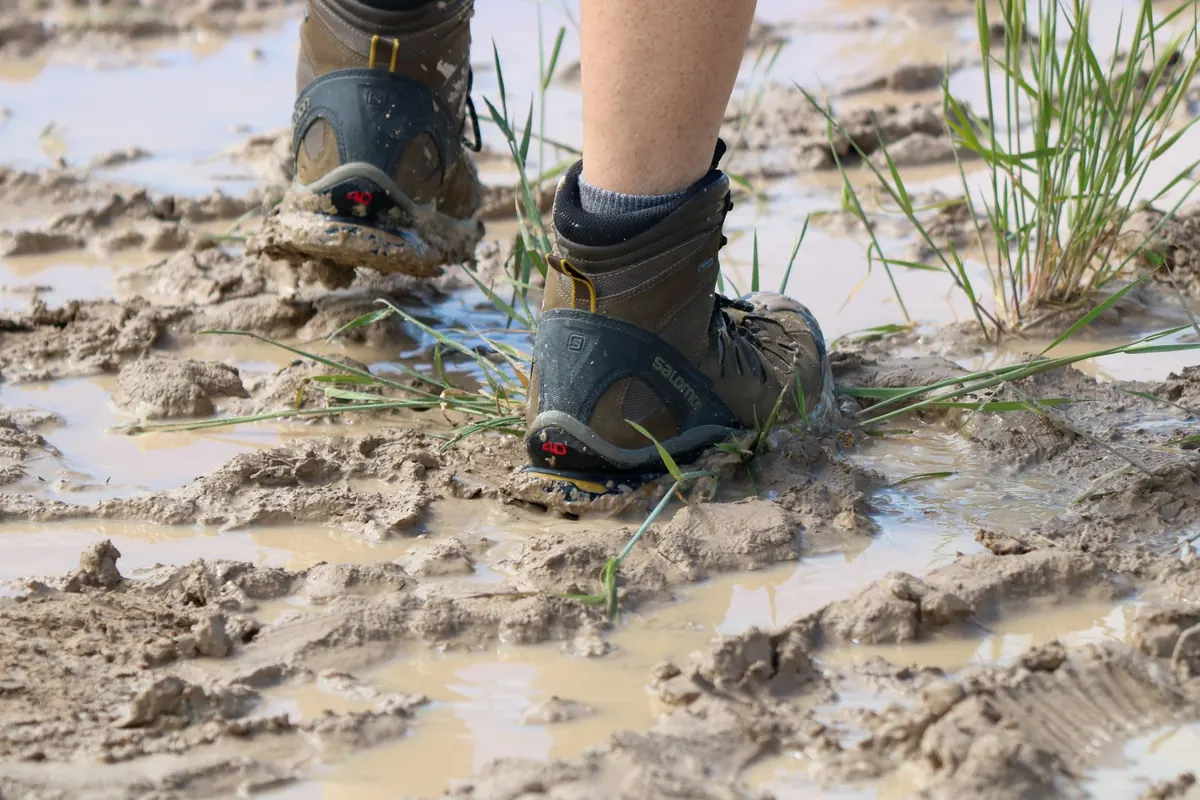
Cold is the other quiet factor. Once you stop moving, the temperature you didn't notice while climbing suddenly matters, and dew or frost makes the ground greasy underfoot. Sound, though, improves enormously: you'll hear a stream long before you see it, and a footbridge over a beck gives you a reliable handrail when the path is vague. None of this should put you off. It should just push you towards a shorter route than you'd pick in daylight, and towards knowing exactly where you're going before the light goes.
Head Torches: Get This Right First
Beam, brightness and modes
A light of a few hundred lumens is plenty for walking a footpath; brighter isn't automatically better. What matters more is the beam pattern. A wide, even spread lights the ground in front of your feet, while a narrow spot is useful for picking out a distant gate or checking a hillside for a path. A torch that does both — or at least one with a decent flood — is far more comfortable to walk with.
Look for several output levels rather than a single setting. You'll spend most of the night on low or medium, saving battery and keeping your night vision in better shape. A red mode is genuinely useful: it barely affects your dark-adapted eyes and it won't blind whoever is reading the map beside you.
Batteries, cold and backups
Cold weather shortens battery life noticeably, so carry spares in an inside pocket where your body keeps them warm. Rechargeable torches are convenient, but if you're heading out in winter, a model that also takes standard cells gives you options. Whichever you choose, take a small second torch — a head torch that fails five kilometres from the car turns a pleasant evening into a long, slow shuffle. Wear the strap over a thin hat rather than under it; a bare head in February loses heat fast.
The Rest of the Kit
You don't need much beyond your normal day-walking setup, but a few additions make a real difference after dark:
- Spare light: a small hand torch, plus spare batteries or a power bank.
- Paper map and compass: a phone can die, freeze or lose signal, and the map folds out flat when you need it.
- Phone: fully charged, offline maps downloaded, kept in a warm inside pocket.
- Extra insulation: a spare fleece or synthetic layer, plus hat and gloves you'd normally leave behind.
- Hot drink: a flask is worth its weight on a cold summit or at a mid-route stop.
- Emergency kit: a whistle, a foil blanket or bivvy bag, and a small first aid kit.
- Trekking poles: excellent for judging unseen ground and saving your knees on descents.
- Light-coloured or reflective outer layer: helps if you're anywhere near a road or lane.
Navigation When You Can't See the Horizon
In daylight you navigate partly by glancing at big features — a ridge line, a wood, a church tower. At night those cues vanish, so you lean on smaller, closer things. Before you set off, mark your key junctions on the map and note their grid references. Then walk in short legs: take a bearing, follow it, and check yourself against a handrail feature such as a wall, fence, stream or field boundary.
Pacing helps too. Count your steps over, say, a hundred metres on similar ground in daylight and you'll have a rough idea of how far you've travelled when the path is invisible. It sounds fussy; it isn't, and it's far less fussy than wandering a hillside at midnight. On easier ground, occasionally switch the torch off, let your eyes adapt and walk by moonlight for a minute or two. On rough or exposed ground, keep it on.
Timing: Sunset, Twilight and the Small Hours
Aim to start well before sunset — about an hour is a sensible buffer. You get to cover the trickiest navigation in daylight, your eyes adapt gradually as the light fades, and you're not rushing on unfamiliar ground. Twilight length varies hugely through the year, so check sunset and the end of civil twilight rather than assuming dusk behaves the same in June as it does in November.
Allow more time than you would by day. Rough ground, gates, stiles and hesitant navigation all slow you down, so add roughly a third to your daylight estimate and you won't be far off. If you can, finish before the small hours. Energy and body temperature both dip in the early morning, and that's when mistakes and misery tend to cluster. A route that gets you back to the car by eleven is a much better first outing than one that finishes at three.
Walking as a Group After Dark
Groups fall apart quietly in the dark: someone stops to adjust a boot, nobody notices, and ten minutes later there are two parties on one path. Agree a few simple rules before you leave.
- Name a sweeper. An experienced walker stays at the back and nobody overtakes them.
- Walk at the pace of the slowest. It isn't a compromise; it's the only pace that keeps everyone together.
- Stop as a group. Layers on, snacks out, torch checks done, then move off together.
- Keep lights low. Point your beam at the ground, not at someone's face, and use red light for map reading.
- Agree a turnaround time before you start, and honour it even if the summit is close.
- Tell someone at home your route, your car park and your expected return time — and text them when you're back.
Your First Night Walk
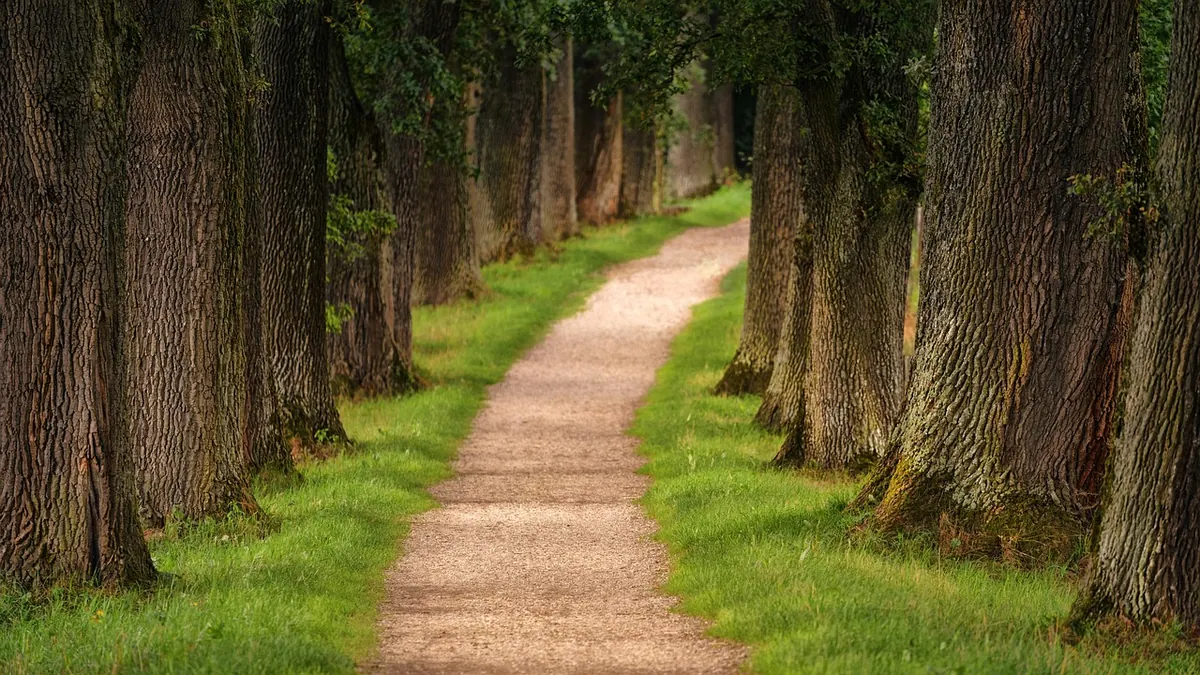
Don't make your debut a long, exposed ridge in January. Pick a short loop you already know well — four to six kilometres on good paths — and go on a clear night near a full moon, when you can see the shape of the land around you. Take a friend, leave the route plan with someone at home, and set off an hour before sunset. If you're trying to walk somewhere wilder, or you're unsure about a route in winter conditions, it's worth booking onto a guided night walk or a navigation course first; a few hours with someone experienced will teach you more than any amount of reading.
Take the layering and the torch settings seriously, and the rest follows. Night walking is quieter, slower and strangely companionable, and once you've done a couple of short, well-planned outings in the dark, dusk stops being a reason to head home and starts being a reason to keep going.
Photo: jplenio / Pixabay
Three Days on the West Highland Way: Trip Report and Packing Tips
A three-day fastpack of the West Highland Way, with notes on where the pace fell apart and which kit...
A Winter Ascent of Snowdon: Trip Report and Lessons Learnt
A cold, clear winter day on Yr Wyddfa via the Llanberis Path, with the kit that earned its place and the...
About Us